
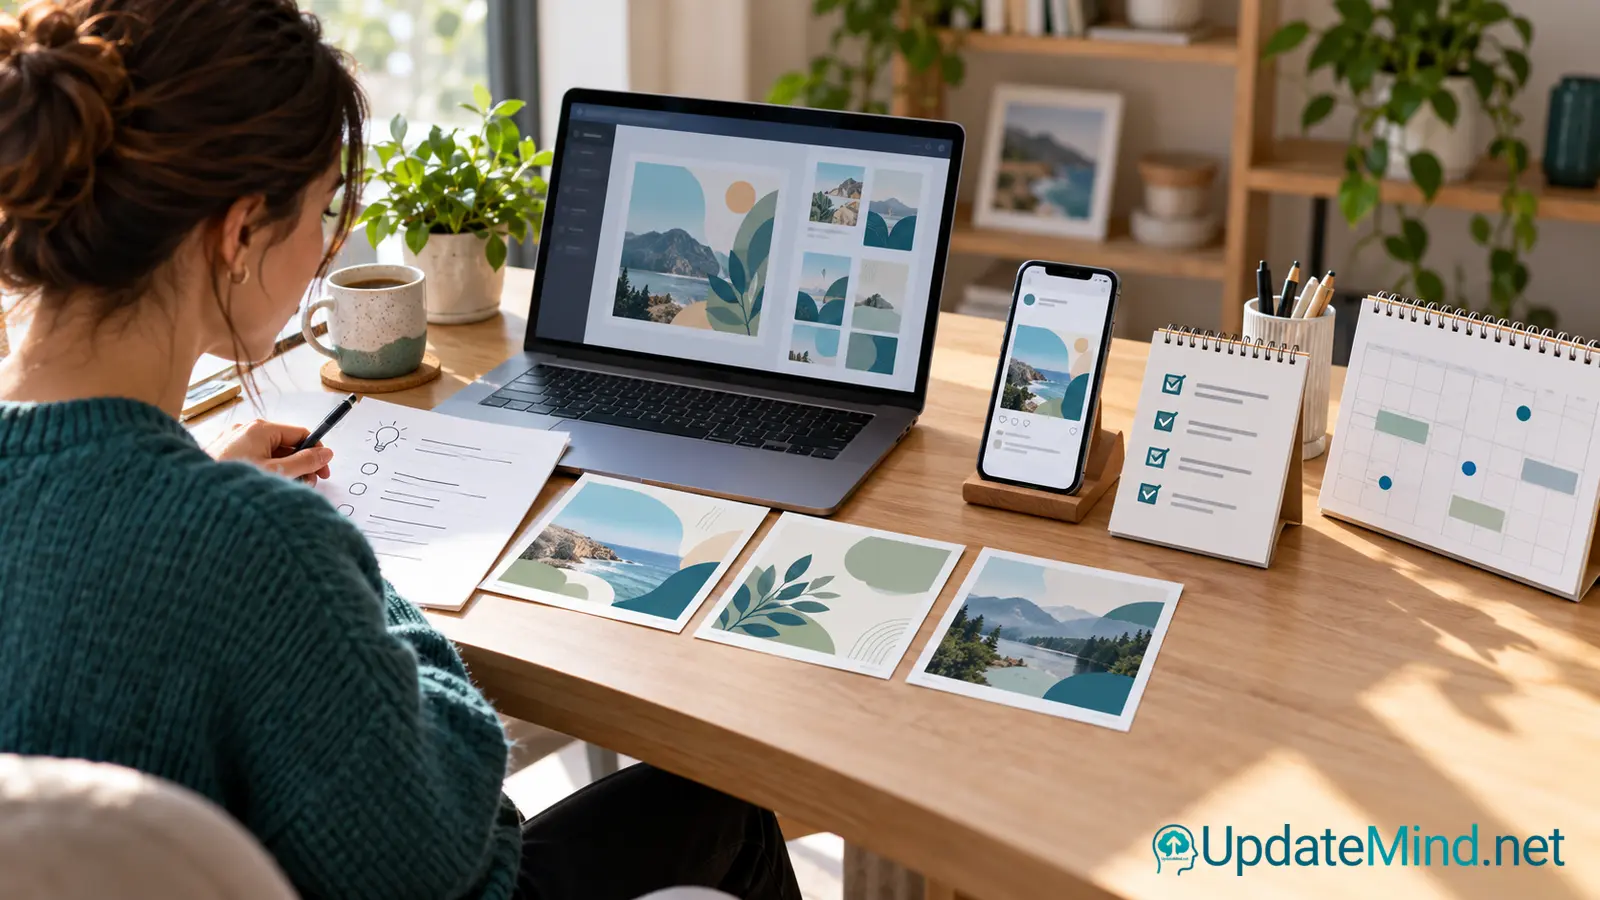
A repeatable Canva workflow helps you turn ideas into consistent social posts without starting from a blank page every time. The aim is not to publish more for its own sake. It is to reduce repeated decisions, keep the visual identity clear and make every post easier to review.
1. Start with a content purpose
Choose the job of the post before opening Canva. It might answer a question, explain an article, invite discussion, present a product or share a practical tip. Write the intended audience and one action you want the reader to take.
One post should usually have one primary message. If the design needs several paragraphs to explain itself, move the detail into the caption or linked article.
2. Create a small reusable system
Prepare a limited set of templates for the formats you actually use. Keep the same logo position, font choices, colour roles and spacing rules. A template should provide structure, not force every post to look identical.
Use separate layouts for a quote, a checklist, an article promotion and a short educational sequence. Name them clearly so another person—or your future self—can find the right starting point.
3. Build each design from a short brief
Before designing, record:
- the audience
- the single message
- the format and platform
- the call to action
- the source or article link
- the approval status.
Then replace placeholder text, check the hierarchy and remove anything that does not support the message. Read the design at phone size. Text that is technically present but difficult to read is not doing its job.
4. Reuse carefully
Create variations from a strong base design instead of copying random files. Change the headline, image, accent colour or example while preserving the system. Keep the original version unchanged so you can return to it later.
If you resize or adapt a design for another channel, check the crop, text margins, contrast and link destination again. A design that works in one format may feel crowded in another.
5. Add captions and links outside the design
The image should attract attention and communicate the main idea. Use the caption for context, examples and a clear next step. Check every link before scheduling it. For UpdateMind content, use the canonical article URL or approved BetterLinks destination, not an old direct affiliate URL.
If a post contains a commercial recommendation, make the relationship and purpose clear. Do not imply guaranteed results.
6. Use Canva’s Content Planner only after review
Canva’s official Help Center describes Content Planner as a way to plan and schedule designs to connected social accounts. Treat scheduling as the final step, not as a replacement for QA. Confirm the correct channel, account, date, caption, image and destination before publishing.
Availability and supported channels can depend on the Canva plan and the connected account. If scheduling fails, export the approved asset and use the controlled publishing workflow for that channel.
7. Use a simple approval checklist
Before scheduling, check:
- Is the message understandable without guessing?
- Is the design readable on a phone?
- Are spelling, dates and names correct?
- Is the article or offer link live and correct?
- Is any sponsored or affiliate relationship disclosed?
- Is the post assigned to the correct account and date?
- Is the asset approved for the intended use?
Keep a small status column such as Draft, Review, Approved and Scheduled. This prevents an unfinished design from being published accidentally.
8. Review results without changing everything
After publishing, record the date, format, topic and basic response. Look for patterns in saves, comments, clicks or meaningful replies. Change one part of the workflow at a time so you can learn what helped.
A useful weekly routine is to collect ideas, create a small batch, review every asset, schedule approved posts and note what should be improved next week.
FAQ
Do I need a new Canva design for every post?
No. Reusable templates are usually more efficient, provided the content remains relevant and the design is adapted rather than duplicated blindly.
Can Canva publish directly to social media?
Canva documents direct planning and scheduling through Content Planner for connected accounts, but availability depends on the plan, platform and account permissions.
What should I do if a design looks crowded?
Remove secondary wording, increase spacing or move detail to the caption. A simpler design is usually easier to understand and easier to reuse.
What is the first workflow improvement?
Create 3–4 approved templates and a short checklist. Then test the system on a small batch before building a full month of content.
A simple workflow is valuable because it makes quality repeatable: clear purpose, reusable structure, careful review and controlled scheduling.
Turn this workflow into a repeatable content system
If you want a guided next step, explore the Simple Social Media Content course. It focuses on building a practical, reusable system for creating clearer social posts without starting from scratch every time.