
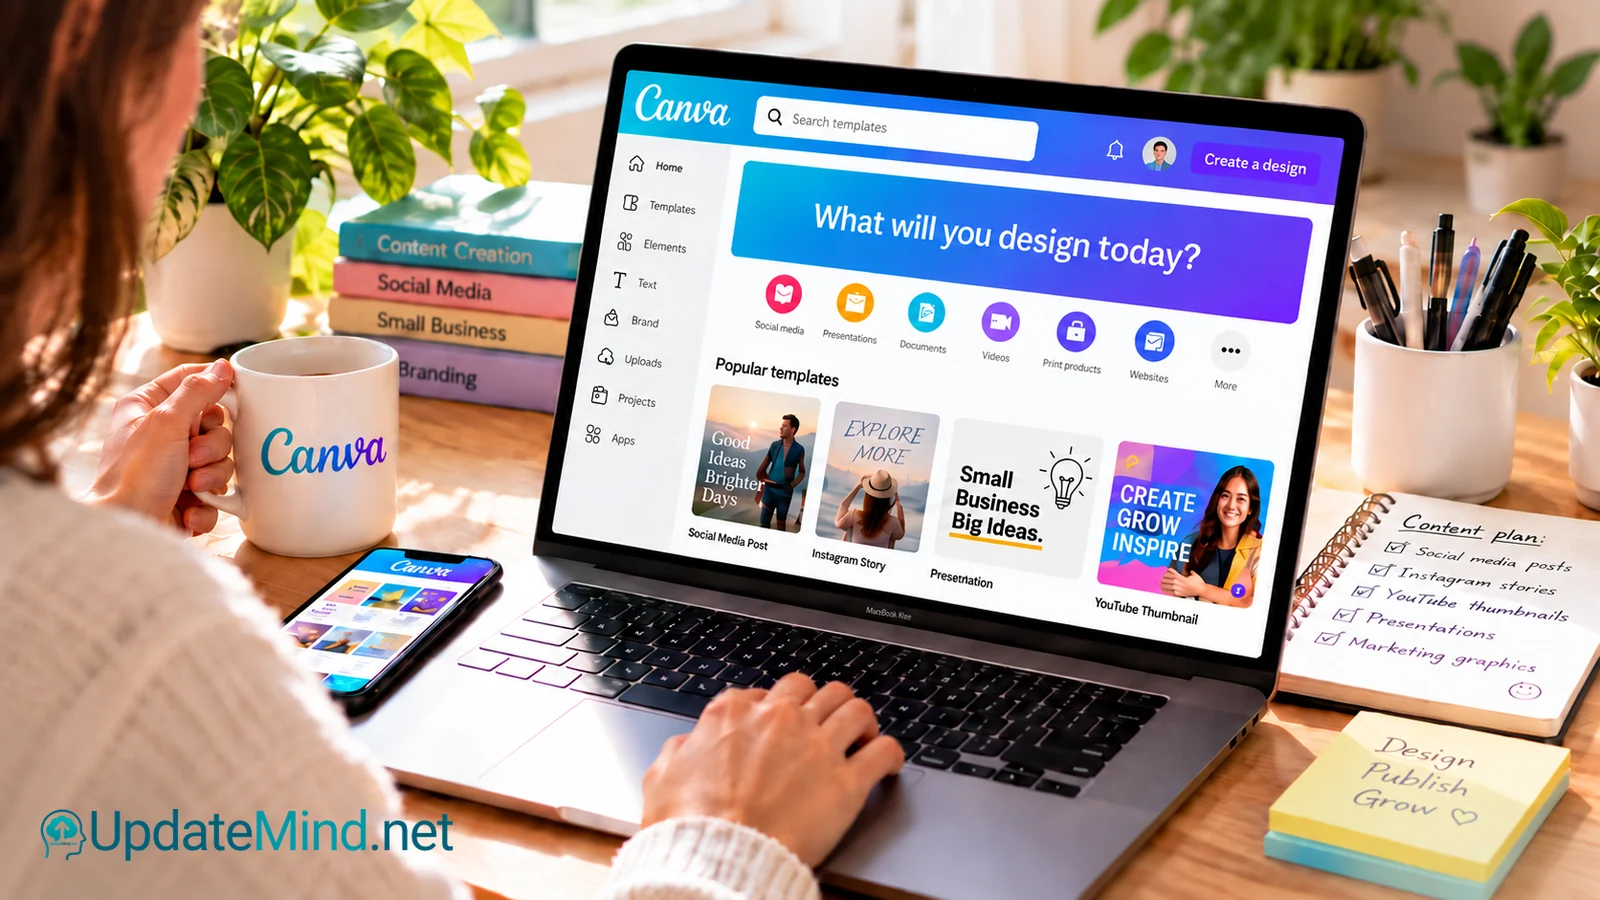
Canva can help a small business create useful visual content without starting every design from a blank page. The bigger risk is not a lack of templates. It is spending hours on graphics that do not support a real customer task.
A focused setup begins with the few assets your business needs repeatedly: a simple visual reference, clear offer graphics and reusable templates for the channels you actually maintain. Everything else can wait until there is a demonstrated need.
Start with the customer journey, not the template library
Before opening Canva, choose one business outcome for the next 30 days. It might be explaining a service, generating enquiries, promoting an event, supporting an email campaign or publishing consistently on one social platform.
Answer three questions:
- What action should the customer take?
- Where will the customer see the design?
- What information must be clear before they can act?
These answers determine the format. A local service business may need a clear service overview and appointment graphic. A consultant may need a proposal template and LinkedIn visuals. An online shop may prioritise product images, email banners and a small set of campaign templates.
What to create first
1. A one-page visual reference
Create a simple page that records the visual decisions you will reuse:
- primary and secondary logo versions
- two or three brand colours with their colour codes
- one heading font and one body font
- preferred photo style
- examples of buttons, icons or graphic elements
- basic rules for spacing and logo placement
This is not a full brand strategy. It is a working reference that prevents each new design from looking unrelated to the previous one.
If your Canva plan includes Brand Kit, you can store logos, fonts, colour palettes and brand templates there. If it does not, keep the reference page in a clearly named folder and duplicate it when you begin a new design.
2. One clear offer or service asset
Create the design that supports the most important customer decision. Depending on the business, this could be:
- a service overview
- a product feature graphic
- an event announcement
- a lead magnet cover
- a price or package comparison
- a testimonial graphic supported by a genuine, permitted quotation
The design should answer the practical questions a customer is likely to have: what is offered, who it is for, what the next step is and where to find accurate details. Avoid filling the image with every feature. The graphic should lead to a page, message, booking form or product listing where the full information lives.
3. Three reusable social templates
Do not build a library of 30 nearly identical posts. Begin with three formats tied to repeatable communication needs:
- an educational tip or short explanation
- a proof or trust post, such as a project example or authorised testimonial
- an offer, event or call-to-action post
Keep the logo position, type hierarchy, margins and colour use consistent. Change the message and image, not the entire layout. A small system makes it easier to publish regularly and easier to notice what performs well.
4. A simple email visual system
If email is already part of the business, create only the pieces you will reuse: a header, a small promotional banner and a lead magnet cover if one exists.
The email should still work when images are blocked. Keep essential information and calls to action as live email text rather than placing the entire message inside a graphic. Use visuals to support the message, not replace it.
5. A sales document template, if the process needs one
Businesses that send proposals, quotations, presentations or onboarding guides can benefit from one reusable document template. Build it around the actual sales process, with stable sections for the problem, scope, deliverables, timeline, price and next step.
If customers never receive a proposal or presentation, skip this. A template is useful only when it solves a recurring task.
What to skip at the beginning
A large template collection
More templates create more decisions. Until the core system is working, extra designs usually add clutter rather than speed. Keep only the formats you can connect to a real content or sales task.
Constant redesigns
Changing colours, fonts and layout every week makes the business harder to recognise and prevents you from learning whether the message works. Set a minimum visual system and use it consistently for at least one campaign or review period before changing it.
Complex animation and video for every post
Motion can be useful when it improves an explanation or demonstrates a product. It is not automatically more effective than a clear static design. Begin with the format you can produce well and sustain. Add video when the subject genuinely benefits from movement, narration or demonstration.
Print materials without a distribution plan
Business cards, flyers, menus and brochures may be necessary for some businesses, but printing before confirming the final information can be expensive. Verify dimensions, contact details, pricing, legal text and printer requirements before ordering. Test a small quantity when possible.
Trend-driven designs that do not fit the brand
A popular style can attract attention, but copying every trend may make the business look inconsistent or dated quickly. Use trends selectively when they suit the audience, message and channel.
Features your plan or team cannot maintain
Canva offers tools for brand management, resizing, collaboration and scheduling, but availability can depend on the plan and account type. Canva’s Content Planner, for example, is available to eligible paid and organisational plans, and supported publishing options can change as platforms update their integrations.
Do not design a workflow around a premium or connected feature until you confirm it is available in your account and works with the channel you intend to use.
A practical small-business workflow
Step 1: Audit what already exists
Collect current logos, photos, brand colours, documents and active channel sizes. Remove outdated files and identify the three designs the business recreates most often.
Step 2: Build the minimum visual system
Create the one-page reference and organise approved assets in a clearly named folder. Use short, consistent filenames so another person can understand which files are current.
Step 3: Create one master template at a time
Build the highest-priority asset first. Test it with real copy and a real image. A template that works only with placeholder text is not ready for regular use.
Step 4: Duplicate, do not redesign
For recurring content, duplicate the approved master and replace only the variable elements. Keep an untouched master version so gradual edits do not damage the original structure.
Step 5: Review before exporting
Check spelling, dates, prices, contact details, image permissions, contrast and text size. View the design on the device where customers are most likely to see it. A graphic that looks clear on a desktop may be unreadable on a phone.
Step 6: Export for the destination
Use the format and dimensions required by the website, social platform, email tool or printer. Keep an editable master and save final exports in a separate folder. If you use a resizing feature, inspect the resized design rather than assuming every element moved correctly.
A focused 7-day starting plan
Day 1: Choose one business goal and one primary channel.
Day 2: Create the one-page visual reference.
Day 3: Build the first offer or service asset.
Day 4: Create the educational social template.
Day 5: Create the proof and call-to-action templates.
Day 6: Produce one real example from each template and test it on mobile.
Day 7: Correct problems, lock the master versions and schedule the next review.
After the first week, publish or use the assets for a defined period. Track practical signals such as enquiries, clicks, saves, replies or time saved in production. Do not judge the system only by whether the designs look polished.
When a professional designer may be the better choice
Canva is useful for repeatable everyday content, but a small business should consider specialist help when it needs original brand identity work, complex packaging, regulated materials, high-value print production, advanced illustration, accessibility expertise or a campaign with substantial financial risk.
A designer can create the underlying system; Canva can then help the team apply that system consistently to routine materials.
A guided next step
If you want a structured process for understanding your audience, choosing effective images and words, organising content and planning publication, explore the Simple Social Media Content course. Use it to build a manageable content routine around the templates you actually need.
The best Canva setup is not the one with the most designs. It is the smallest repeatable system that helps customers understand the business and helps the team create accurate content without starting over every time.
Sources
Canva Help Center: Brand Kit setup and usage
Canva Help Center: Schedule posts with Content Planner
Canva: Image Resizer and resizing guidance